

Hardware
First thing’s first - you need a compatible weather station. It needs to have wifi capabilities, as we’ll be using it’s networking to recieve updates pushed at regular intervals. I tried this with an ambient weather WS-2000, although their other wifi-connected models should also work.
I won’t include setup of the station itself or instructions for connecting it to the WiFi, you should follow the instruction manual for that.
Setup using Docker
On my home server, I use docker for running services like this.
In my install, I run this in --net=host mode, since it needs to be able to access the MQTT broker which I’m only exposing only on the loopback interface on the server. If you MQTT broker is more open or is on a separate host, --net=host could be dropped, and you can do a port binding -p 8080:8080 instead to expose the server.
docker run -itd \
  --name ecowitt2mqtt \
  --net=host \
  -e ECOWITT2MQTT_MQTT_BROKER=$MQTT_HOSTNAME \
  -e ECOWITT2MQTT_MQTT_USERNAME=$YOUR_MQTT_USERNAME \
  -e ECOWITT2MQTT_MQTT_PASSWORD=$YOUR_MQTT_PASSWORD \
  -e ECOWITT2MQTT_HASS_DISCOVERY=true \
  -e ECOWITT2MQTT_INPUT_DATA_FORMAT=ambient_weather \
  -e ECOWITT2MQTT_PORT=8080 \
  bachya/ecowitt2mqtt:latest
You could also translate this command pretty trivially by converting the environment variables to command line args and running ecowitt2mqtt directly.
Configuring the Weather Station
This is the configuration that works for my system:
- Customized:
Enable - Protocol Type Same As:
Ambient Weather - Server IP / Hostname: - the IP/hostname of server running
ecowitt2mqtt - Path:
/data/report/?- NOTE: - the/?is IMPORTANT, and ecowitt2mqtt won’t work with my weather station without it. - Port:
8080- NOTE: you can change this, if you change the port in the docker command above. - Interval:
15Seconds - I’ve found 15 seconds to be a reasonable interval.
In the web interface, your configuration should look something like this (configure IP, port as needed):

Output
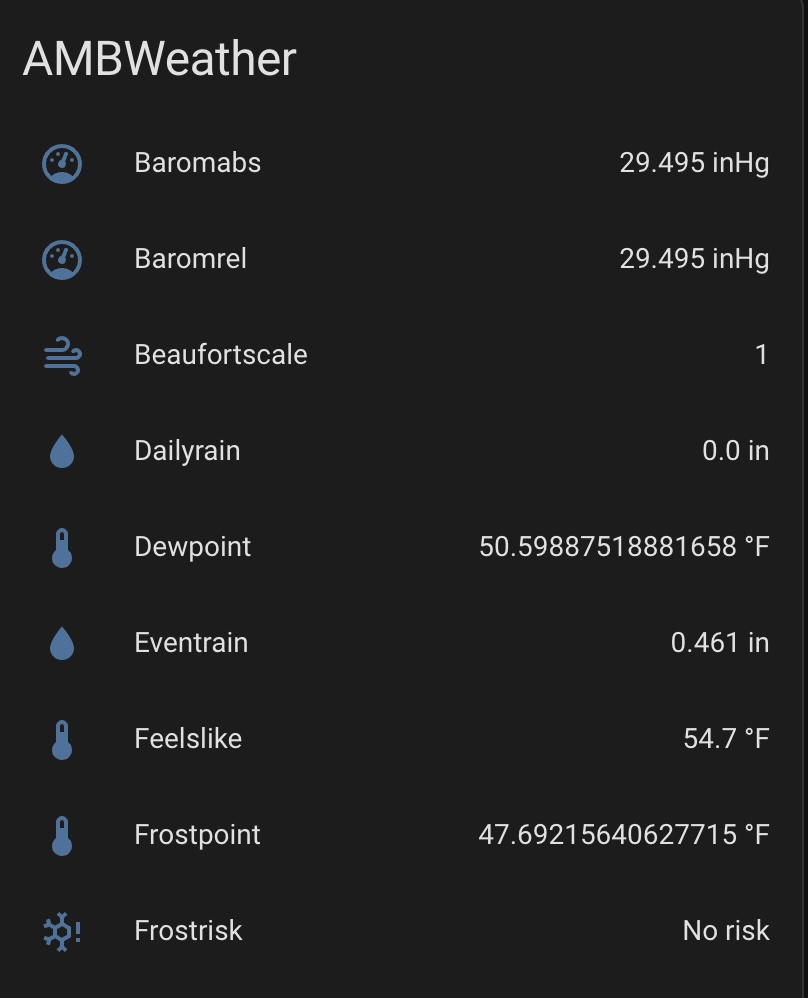
If you’ve done everything correctly, you should see data appear as entities in home assistant:
Debugging
If you aren’t seeing things appear, you might need to run the service in debug mode to get further logs.
To enable verbose debugging, you can add this argument:
-e ECOWITT2MQTT_VERBOSE=true